I used to make pirogies from scratch before I became Celiac, and with the price of gluten-free pirogies out there, I decided to try my hand at making them again… but gluten-free.
It turns out, they are not as hard as they look! Basically, just swap out wheat flour for a gluten-free flour mix that you like… easy peasy!
But this is my recipe–and keep in mind, I am an incredibly lazy cook! So if I can find an easy way to do something, I’ll do it.
Filling
Boil together:
- Peeled potatoes
- sliced onion
- teaspoon of salt
Boil until soft, drain the water out, and mash together. Add a dash of garlic powder or onion powder for taste. And there is your filling!
This is where you could also add cheddar cheese, sautéed onion… whatever you like inside your pirogies.
I boil the onion with my potatoes, and I find it adds a nice flavour to the boiled potatoes. That’s my lazy little secret!
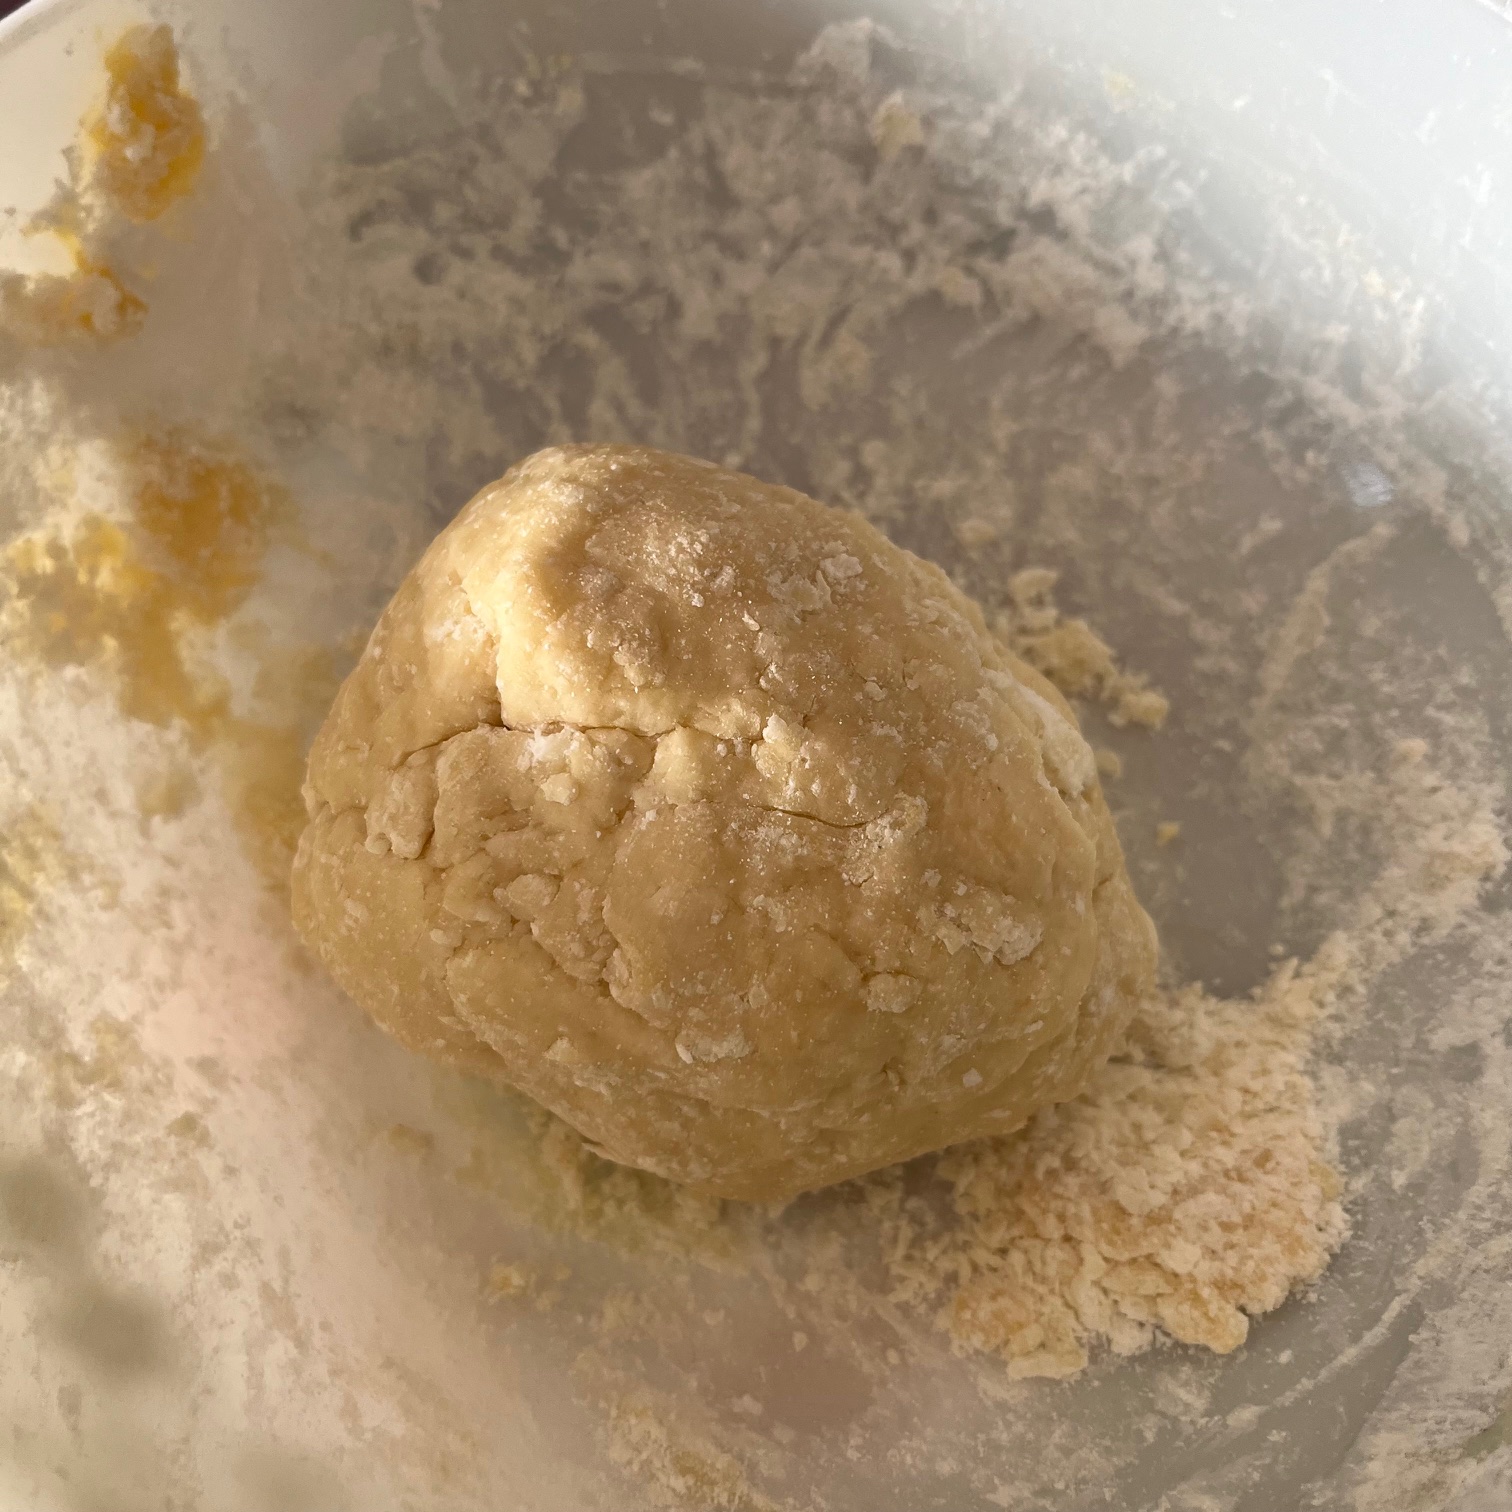
Dough
Ingredients:
- Gluten-free flour (I’m in Canada, and I like Superstore’s President’s choice baking flour blend.)
- eggs
Now, this is where I’m going to be like an annoying grandma, because I don’t measure! I put a pile of flour in a bowl, add a dash of salt, and then crack an egg into it and start to stir. I add as many eggs as I need, and add a bit more flour if I need, until I have a ball of dough that is firmer than pie crust, but not as firm as noodle dough. This used 5 eggs.
Then make pirogies!
Make a ball of dough the size of a large marble. Flatten it on a floured cutting board, and put a spoonful of mashed potatoes in the centre. You don’t want too much potato, or it will overflow. But you want enough for a tasty pirogi. There I am being annoying again! But it looks like this:

Dip your finger in water and just moisten the outer edge so that when you fold it over and pinch it together, it sticks. When you fold it over and pinch, though, use your dry fingers for the pinching, or else you’ll have trouble! (Ask how I know! LOL!)

These are some pirogies ready to boil!
And boil!
Boil them for 8 minutes in a pot with water that stays at a rolling boil. For my stove, that’s medium heat. I put a dash of oil in the water to help them not stick so much. But you want to keep them moving in the water until they float so that they don’t stick to the bottom of the pot. But that doesn’t take long. 8 minutes in total in the boiling water.

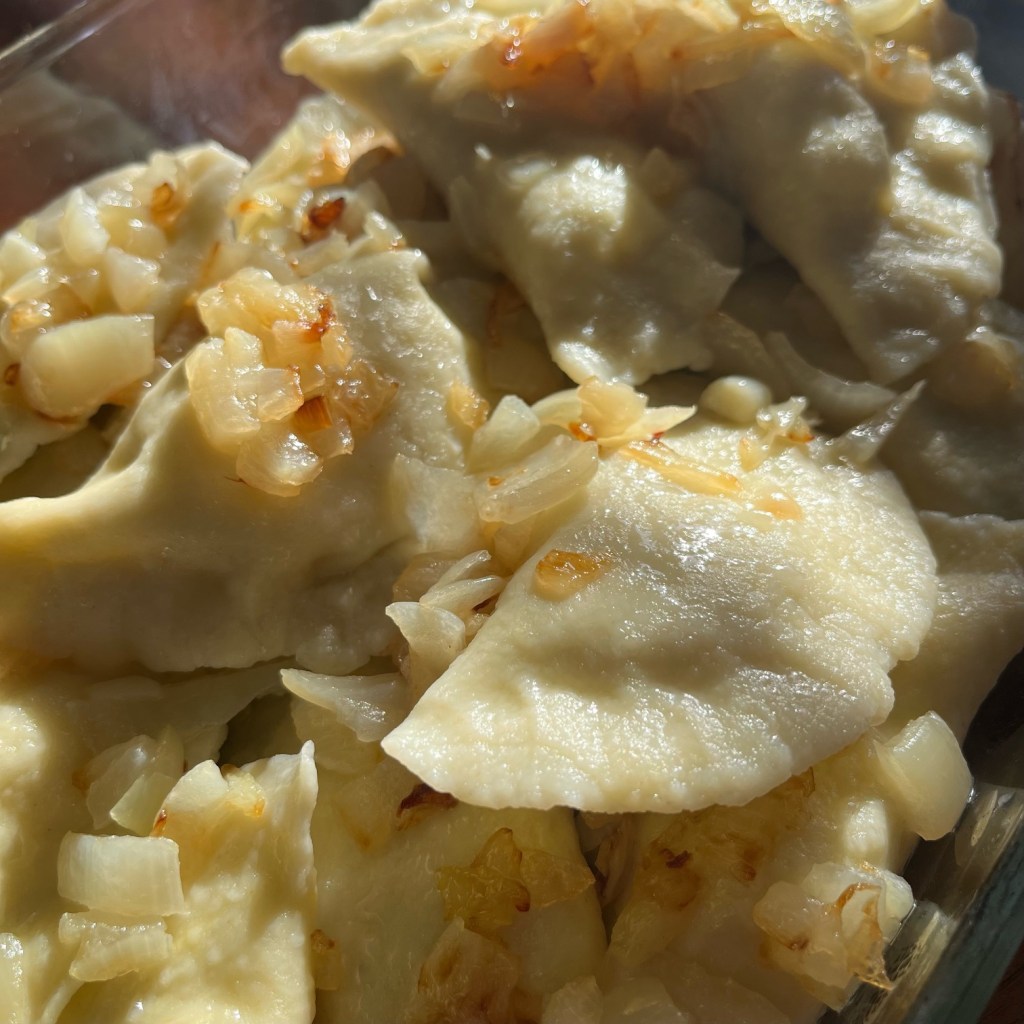
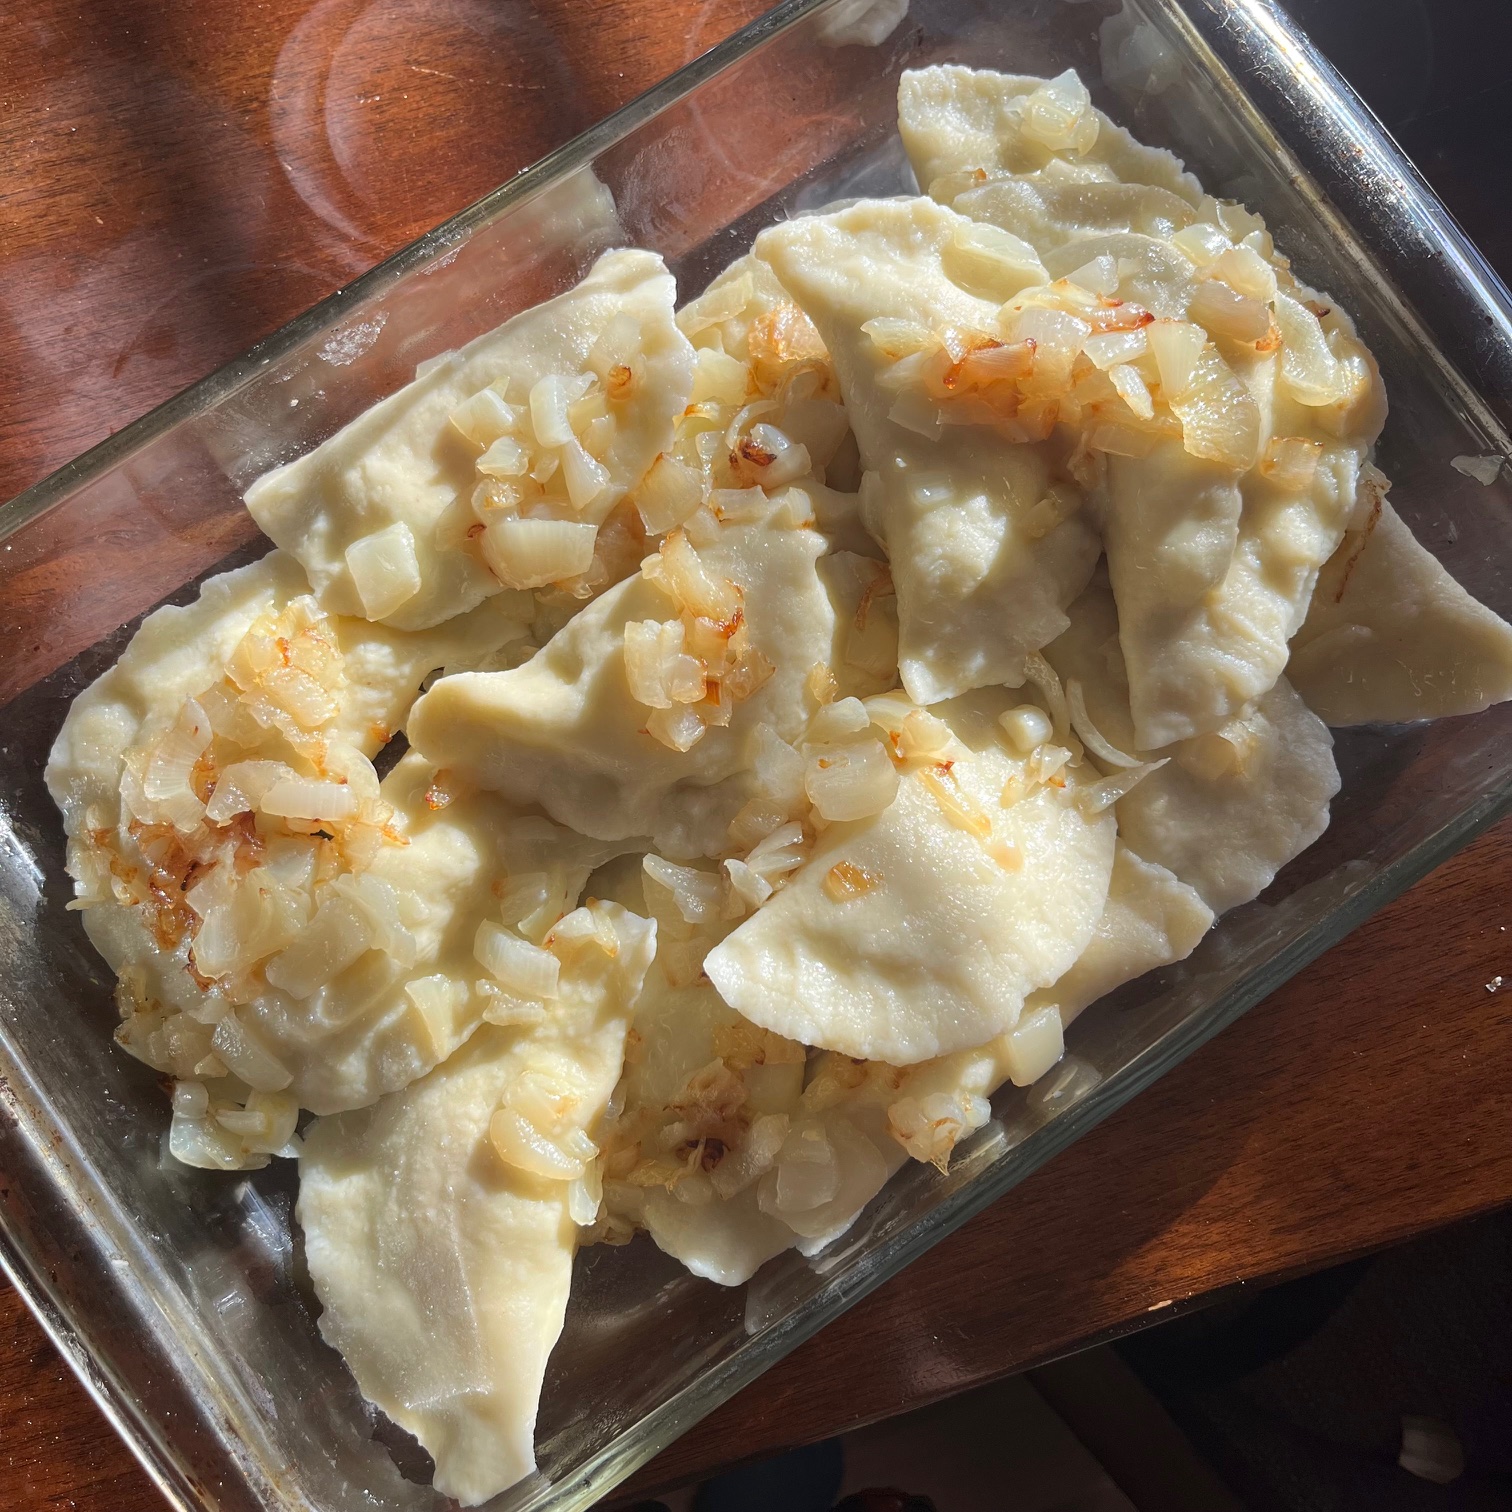
And serve!
Sautee up some onions in oil, and layer those oily onions between your pirogies to keep them from sticking to each other in the serving dish. This is actually where butter would be delicious! The onions are a delicious addition, too!
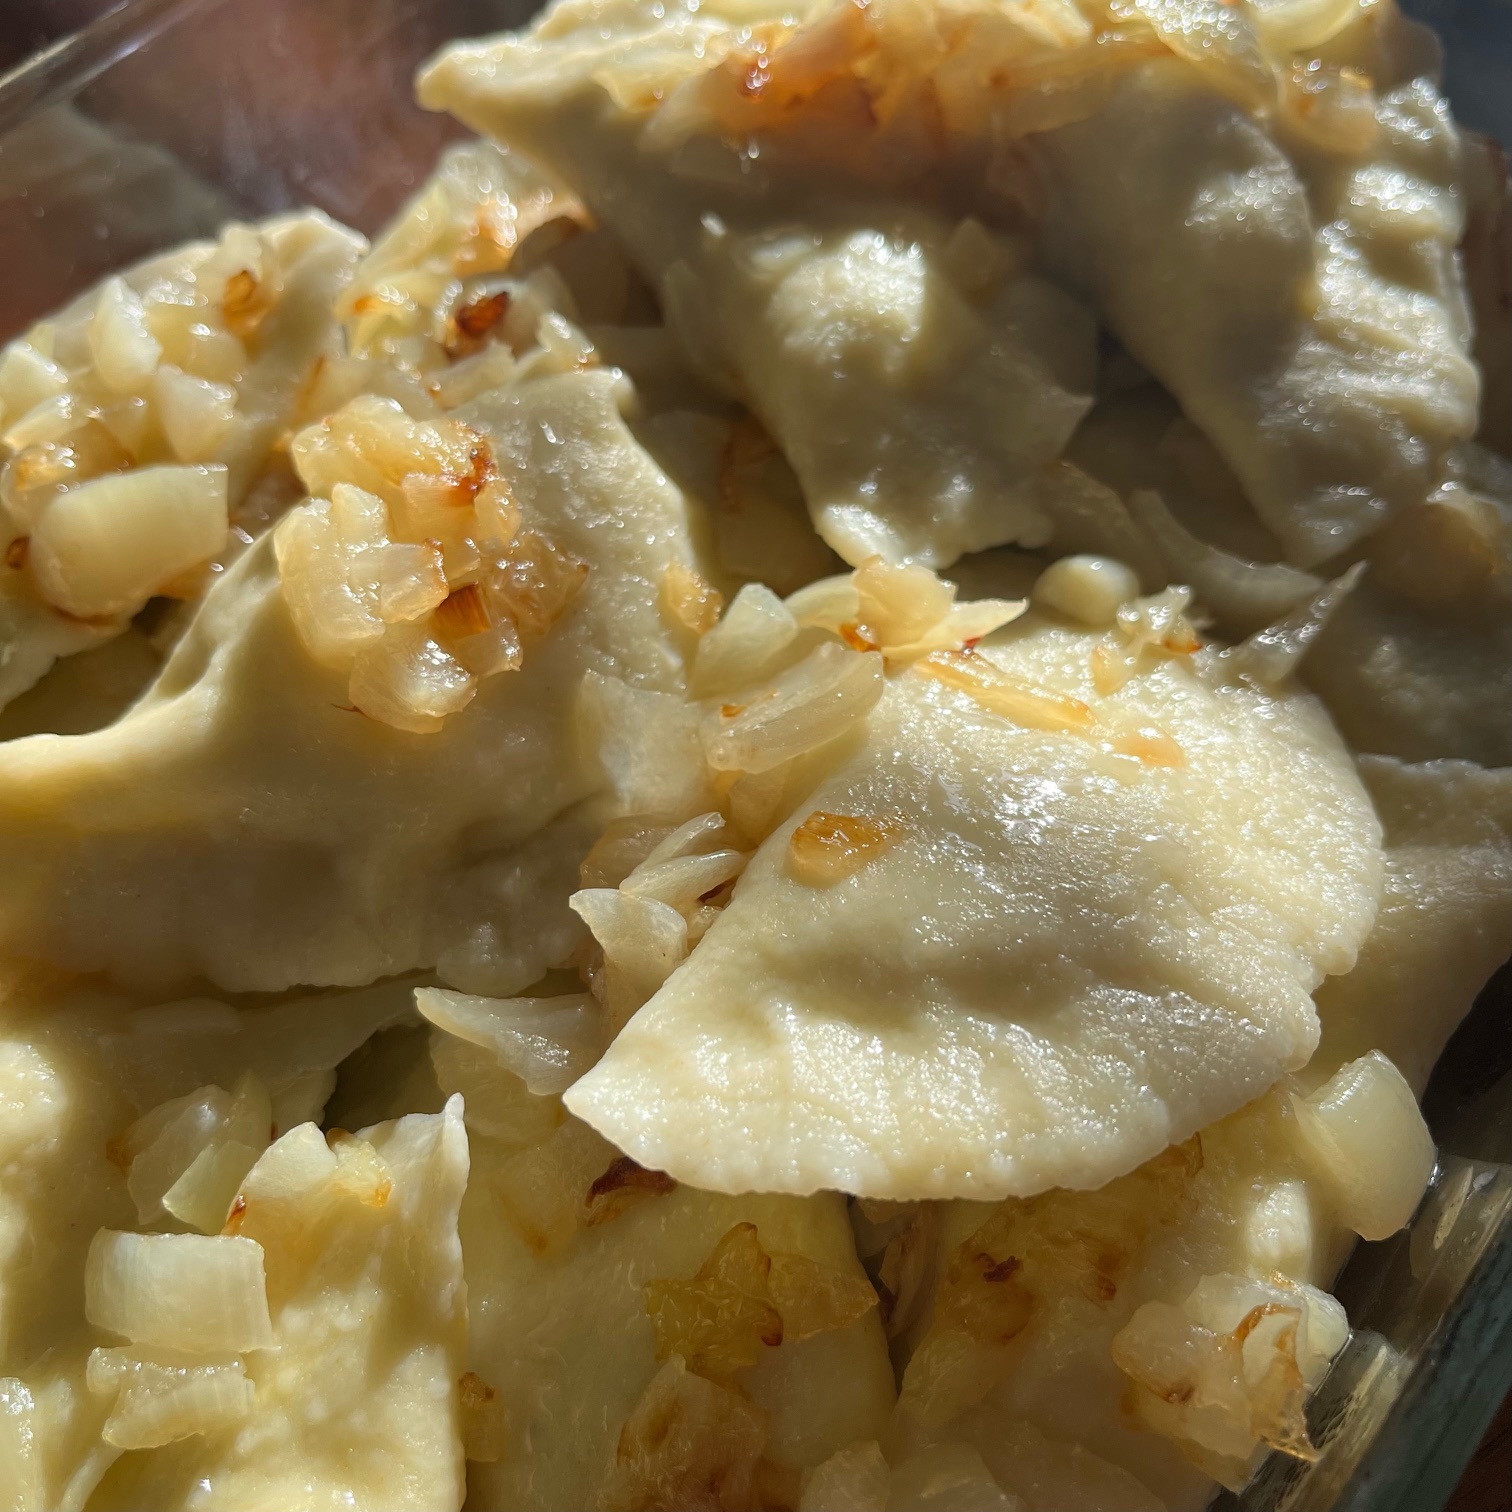
These are so good! And so much easier than they look. They’re infinitely better than frozen store bought, too!
If you enjoy delicious cooking and a little romance, you just might enjoy my books, too! Check out my releases–you might find your next read!
Happy reading!
❤


Leave a reply to Patricia Johns Cancel reply